Yummy, super fast, SUPER cheap. A one pot meal that's no problem to cook for just one or multiply and feed more.

Buddig Corned Beef. You'll find it in hanging with bologna and other packaged cold cuts. Less than a buck a pack. I buy 3 packages (and multiply this entire recipe by 3) for just Hat & I, but we usually have some leftover, so roughly 1 package per person. Recommend: buy a few packages plus a small bag of frozen peas and toss them in your freezer since everything else you probably have on hand.
Recipe as shown below serves one. Multiply as needed.

1. Cut or tear a package Buddig Corned Beef into bite sized morsels. I went fancy here and dirtied up a cutting board and knife. If your meat is straight out the freezer and still frozen, don't worry it wont hurt a thing. Yes those are ice crystals in the picture.

2. Carefully measure 1 tablespoon of butter into a dented saucepan and place over medium heat. Just kidding.. I don't usually measure anything. A little extra butter wont hurt a bit. Add beef and stir a bit...

...until the meat starts looking yummy and getting a little curly, about one minute.

3. Add a Tablespoon of flour. Stir it in until it combines with the butter and meat. No dry spots.

4. Add a cup of milk. Here you see only a half cup, because I don't usually measure and that looked about right. But later it looked a little too thick so I added another half cup. I used 1% milk but any kind is fine.

(This is before I added more milk)
At this point you may want to reduce heat to low while you stir VERY well. making sure to get into all the edges of the pot and get the bits of butter and flour scraped loose and back into the mixture. It should be thickening very quickly. I actually turn the heat off at this point, while I go mess around with an egg...

5. Separate an egg, discarding the white, and place yolk in a small bowl. (Yes I know this photo looks like that round yellow yolk is surrounded by a lot of clear egg white??, but I promise its not. weird lighting I guess.)

Beat the yolk by hand, with a fork, until its pretty smooth looking. About 10 seconds.

Add some of the hot meat/milk mixture to the egg and stir with a fork to blend. If you don't do this fairly quickly it will cook the egg yolk & you will have scrambled eggs in your sauce. Now add all the egg mix back into your pot and stir to blend. Turn the heat back on to about medium.

6. With a measuring cup which has been certified by NASA for accuracy, carefully measure out exactly precisely 1/3 cup of frozen peas. Add them (still frozen and rock hard is fine) to the pot. Or if you have some leftover peas in your fridge that are already thawed and cooked add them instead. Either is fine.

Add a sprinkle of salt and pepper. Continue cooking over medium-ish heat for a minute or two(?) while stirring fairly constantly. Reduce heat as needed to keep it simmering not boiling. I didn't actually time this cooking but it was very short. Taste test a pea. If its thawed and cooked to your liking its done. Don't overcook them; the peas should still be plump & colorful and burst gently when you bite into them.
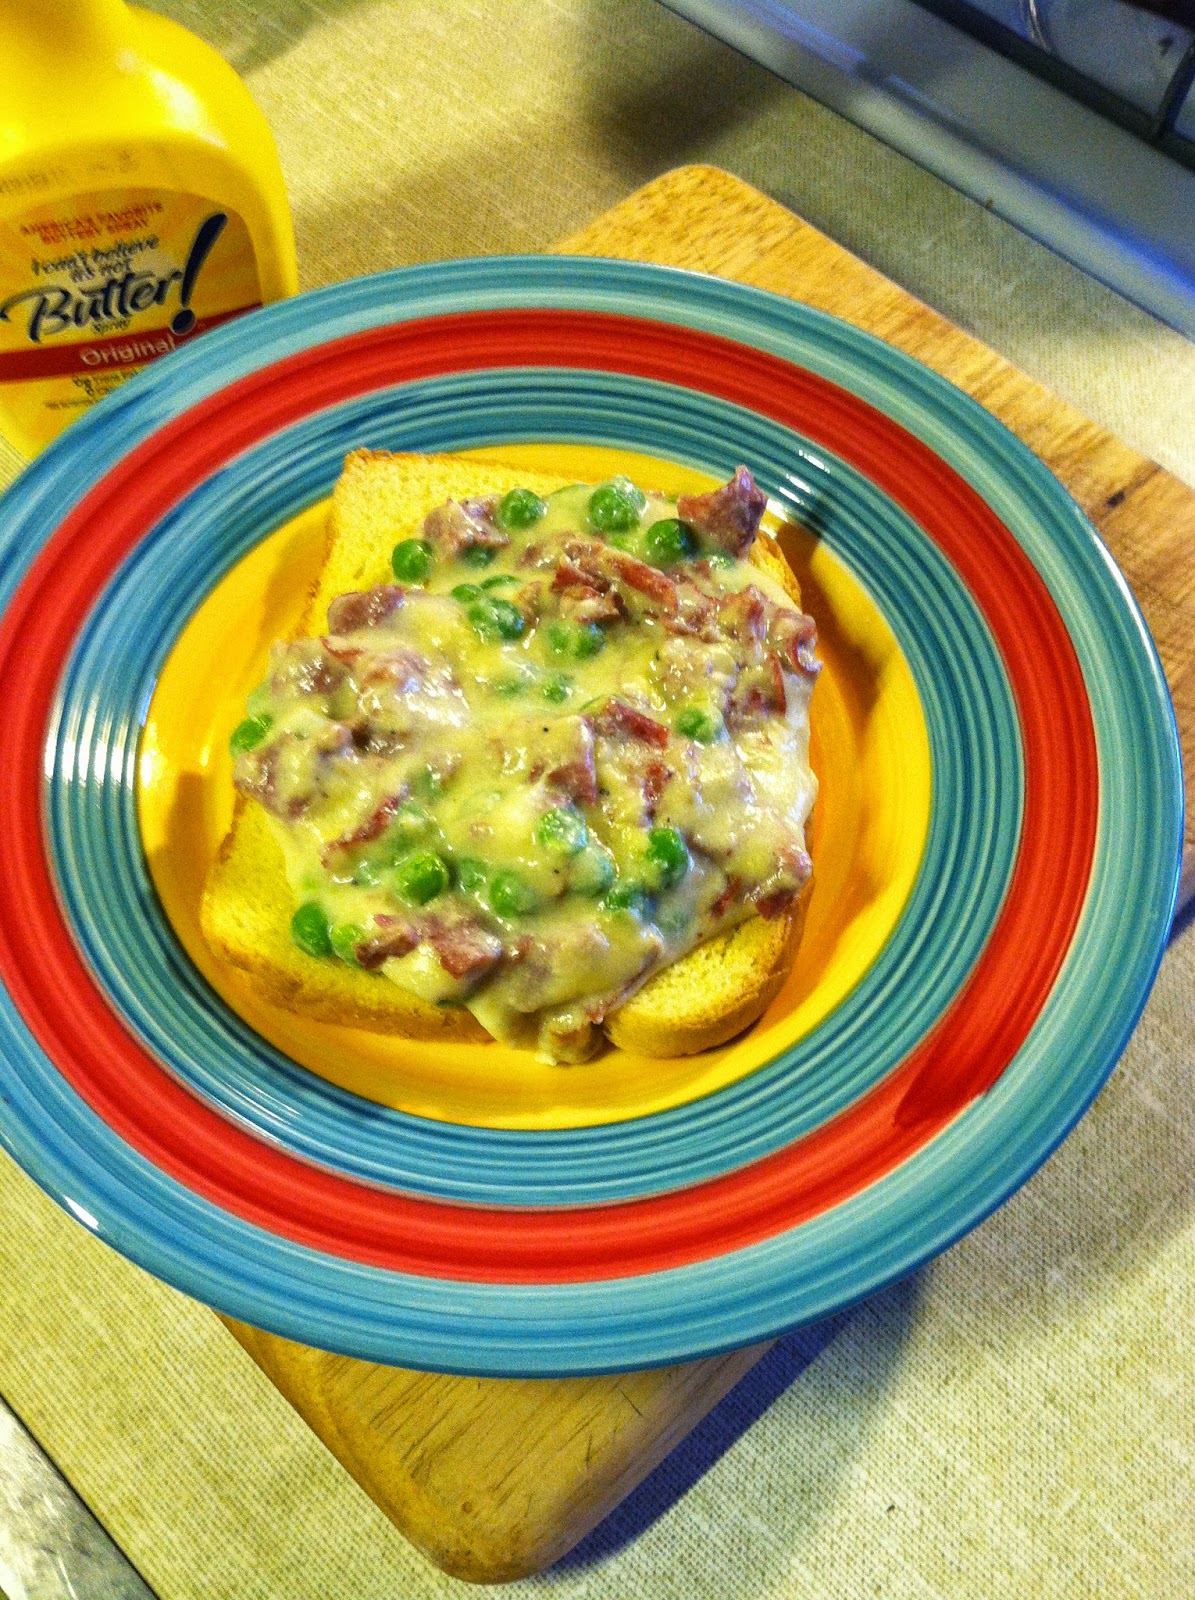
7. Serve over 2 slices of hot buttered toast, using half the mixture on each one. Note I'm only showing one slice of toast with half the mixture in this photo because I gave the other one to Hat. We'd already eaten dinner so we split this demonstration as a snack :)
NOTES:
If you don't have an egg yolk, don't sweat it. I don't always add them, but they do make for a richer tasting sauce and prettier golden color.
There are many variations of this recipe. Some people swear by nutmeg or Worcestershire sauce in it, Others call for heavy cream, white wine, onions, fancier cuts of meat, etc. But this one is the basic old fashioned classic version I grew up on and, just like biscuits n gravy or a grilled cheese sandwich, the un-fancy version is pretty darn good. Pea-haters make it without the peas, but I like that im getting my veggies in it too, all in one dish, and I personally like the taste even better with the peas included.


